How to Make Your Own Pearl Ring
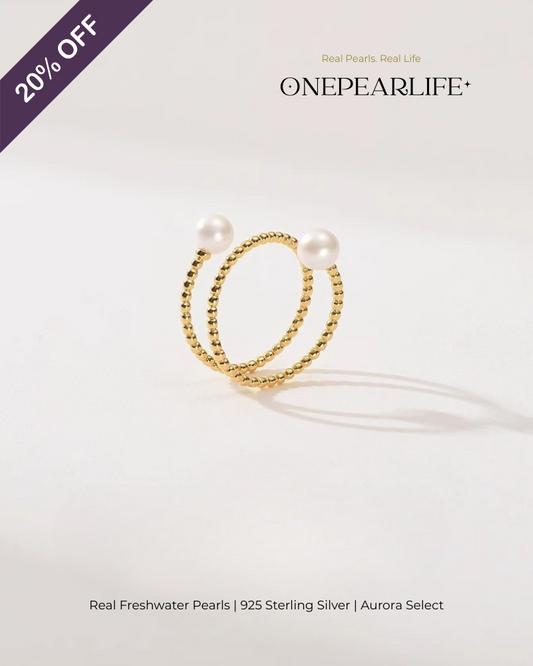
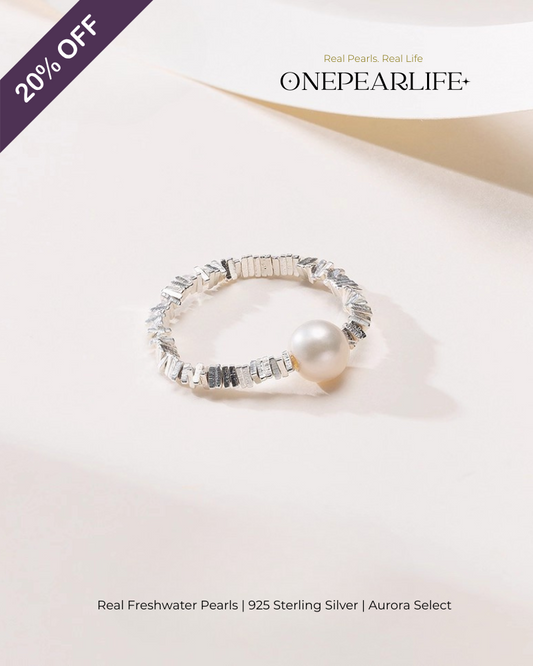
1. Choose Your Favorite Pearl
Select the pearl you love most from your DIY kit. Consider its size, shape, and color to create a ring that truly reflects your style.
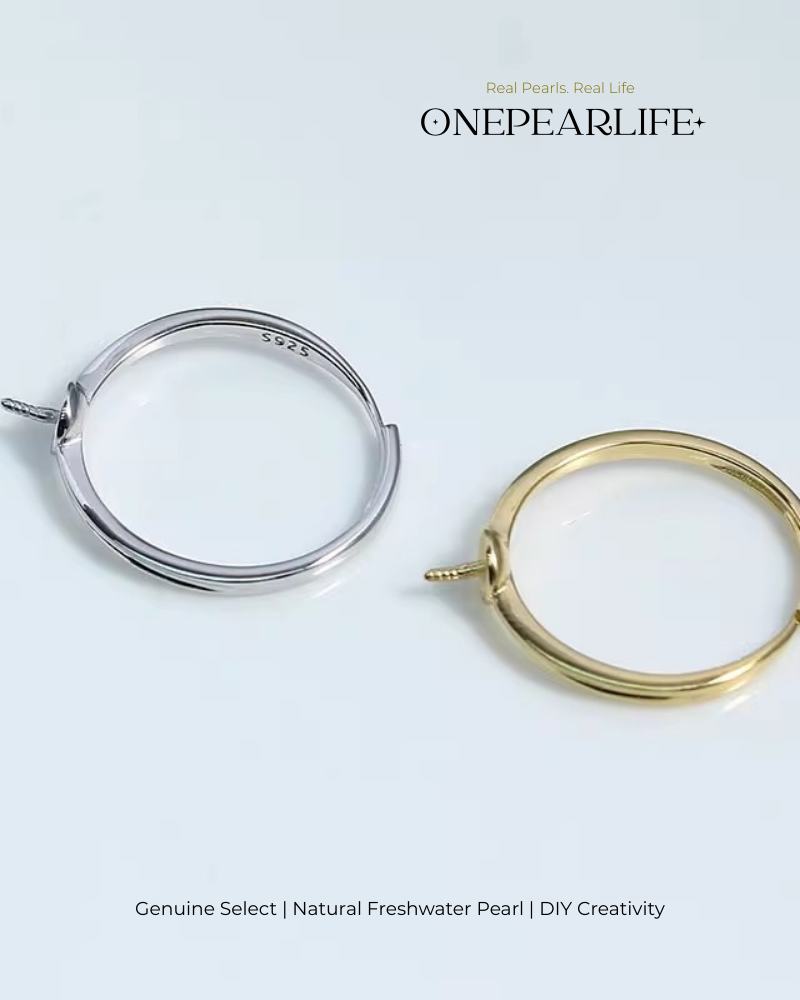
2: Prepare the Ring Base
Adjust the ring base to your desired size and ensure the surface is clean and dry. This creates the perfect foundation for attaching your pearl securely.
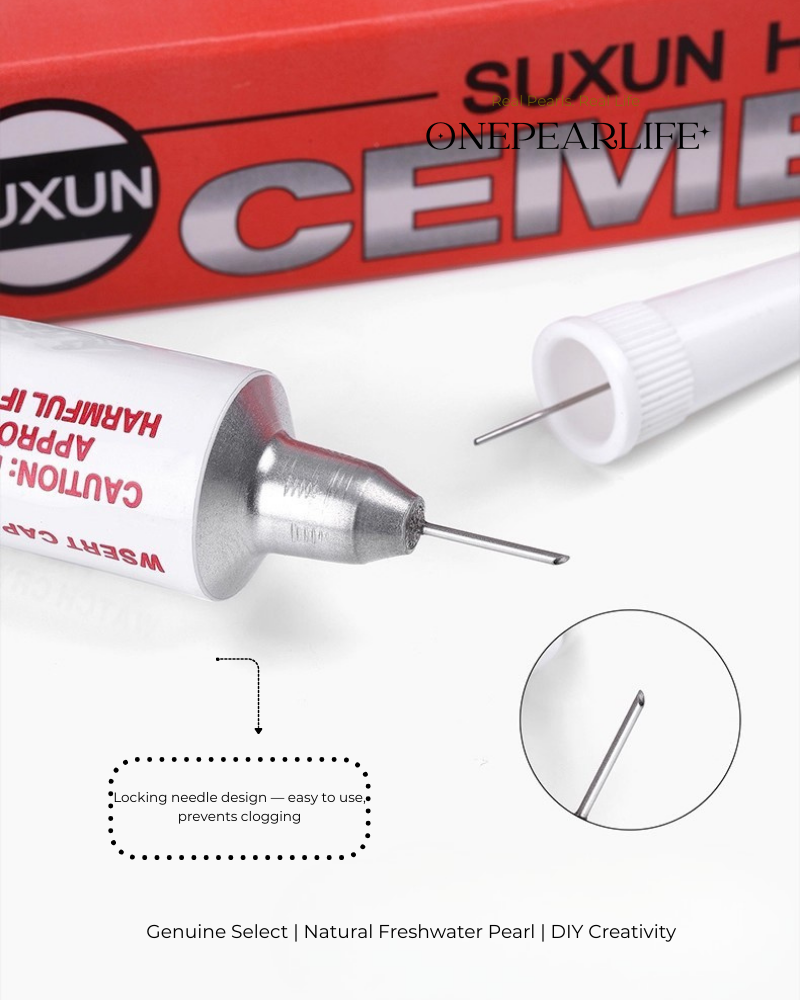
3: Attach the Pearl
Apply a small amount of jewelry-grade adhesive to the ring base, then carefully place your chosen pearl on top. Press gently and hold for a few seconds to ensure it stays securely in place.
4. Let It Set & Enjoy
Allow the adhesive to fully dry according to the instructions. Once set, your handmade pearl ring is ready to wear or gift. You can repeat the process to create more unique DIY pearl ring designs, and if you want even more styles, simply use additional pearls and ring bases from your kit.
Featured Collection
-
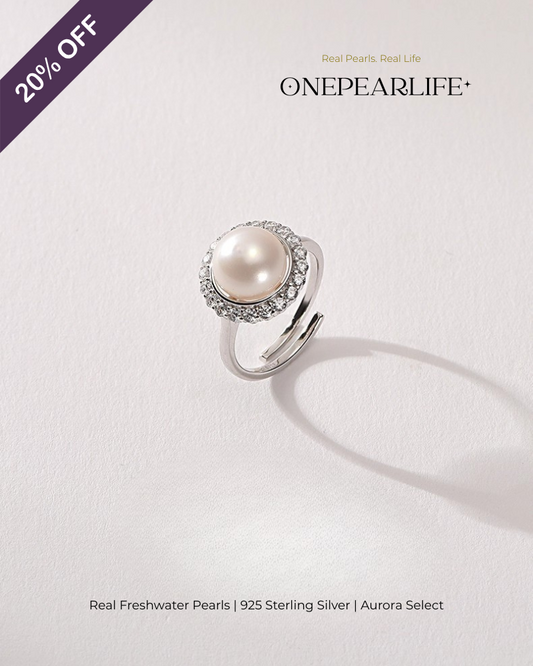
Calysta – AAA Quality Natural Freshwater Pearl Adjustable Ring | 9–9.5 mm | 925 Silver + CZ
Regular price $103.00 USDRegular price$129.00 USDSale price $103.00 USDSale -
Velira – AAA Quality Natural Freshwater Pearl Adjustable Ring | 3–3.5 mm | 18K Gold Vermeil
Regular price $55.00 USDRegular price$69.00 USDSale price $55.00 USDSale -
Celira – AAA Quality Natural Freshwater Pearl Adjustable Open Ring | 5–5.5 mm | 18K Gold Vermeil
Regular price $55.00 USDRegular price$69.00 USDSale price $55.00 USDSale -
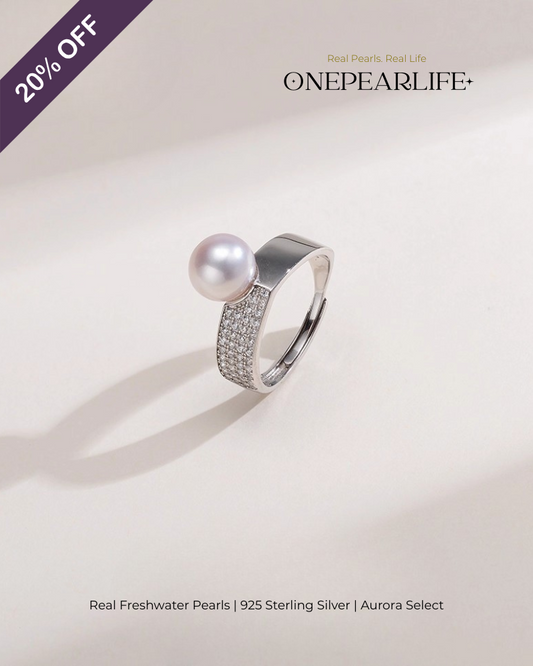
Aurena – AAA Quality Natural Freshwater Pearl Adjustable Open Ring | 8–8.5 mm | 925 Silver + Cubic Zirconia
Regular price $79.00 USDRegular price$99.00 USDSale price $79.00 USDSale -
Selara – AAA Quality Natural Freshwater Pearl Adjustable Open Ring | 4–4.5 mm | 925 Silver
Regular price $63.00 USDRegular price$79.00 USDSale price $63.00 USDSale -
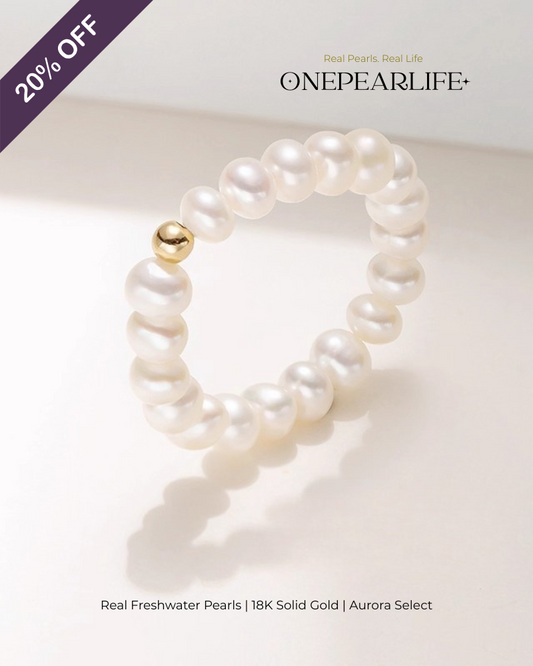
Lunara – AAA Quality Natural Freshwater Pearl Single Adjustable Ring | 6–6.5 mm | 925 Silver Beads
Regular price $47.00 USDRegular price$59.00 USDSale price $47.00 USDSale -
Nivara – AAA Quality Natural Freshwater Pearl Adjustable Ring | 3–3.5 mm | 18K Gold
Regular price $103.00 USDRegular price$124.00 USDSale price $103.00 USDSale -
Averine – AAA Quality Natural Freshwater Pearl Adjustable Ring | 9–9.5 mm | 925 Silver + Sparkling Stone
Regular price $95.00 USDRegular price$119.00 USDSale price $95.00 USDSale -
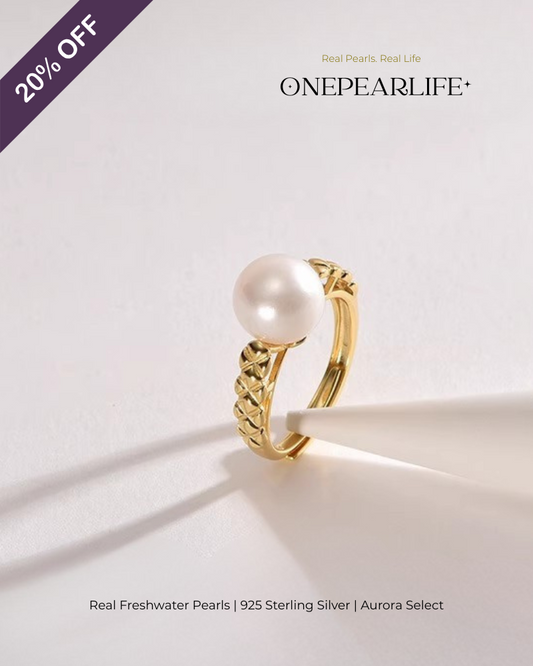
Lunira – AAA Quality Natural Freshwater Pearl Adjustable Ring | 8–8.5 mm | 18K Gold Vermeil
Regular price $87.00 USDRegular price$109.00 USDSale price $87.00 USDSale -
Virella – AAA Quality Natural Freshwater Pearl Adjustable Ring | 7–7.5 mm | 925 Silver
Regular price $63.00 USDRegular price$79.00 USDSale price $63.00 USDSale