How to Make Your Own Pearl Bracelet
2. Pick Your Perfect Pearls
Our set of 50 pearls provides enough for any bracelet length, making it perfect for beginners.
Tips: How Many Pearls You’ll Need
- Measure your wrist circumference.
- Decide on the size of pearls you want to use (6 mm, 8 mm, 10 mm, etc.).
- Divide your wrist length by the diameter of a pearl:
Example: 16 cm wrist ÷ 0.8 cm (8 mm pearl) ≈ 20 pearls - Subtract 1–2 pearls to leave room for the clasp.
3. Prepare Your Materials
Gather the stringing wire, clasps, and tools we provide—everything you need is included in your kit.
4. String the Pearls
Carefully thread the pearls onto the wire in your desired pattern. Make sure they sit snugly and evenly. Leave a little extra wire at each end for securing the clasp.
5. Secure & Finish
- Attach the clasp using the included tools. Check that all pearls are secure and aligned. Let the bracelet rest for a few minutes before wearing.
- If you’d like a different style, feel free to pick another set of pearls from our collection.
Featured Collection
-
Viora – AAA Quality Light Purple Freshwater Pearl Bracelet | 7–7.5 mm | 925 Sterling Silver
Regular price $95.00 USDRegular price$119.00 USDSale price $95.00 USDSale -
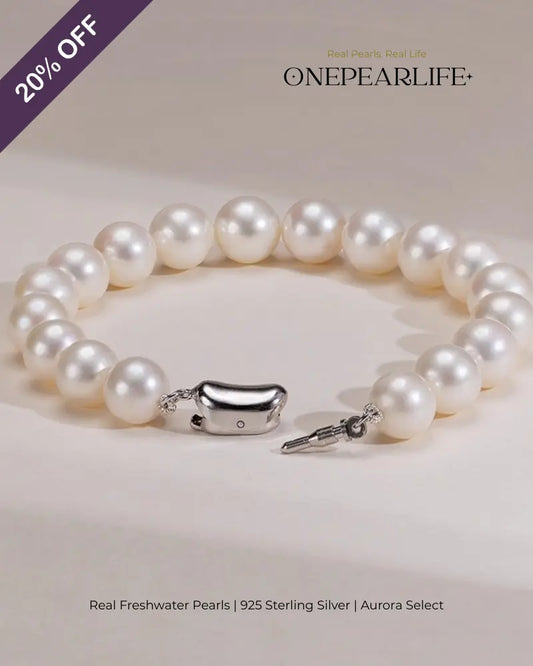
Auris – AAA Quality White Freshwater Pearl Bracelet | 8–8.5 mm | 925 Sterling Silver with Ingots Clasp
Regular price $111.00 USDRegular price$139.00 USDSale price $111.00 USDSale -
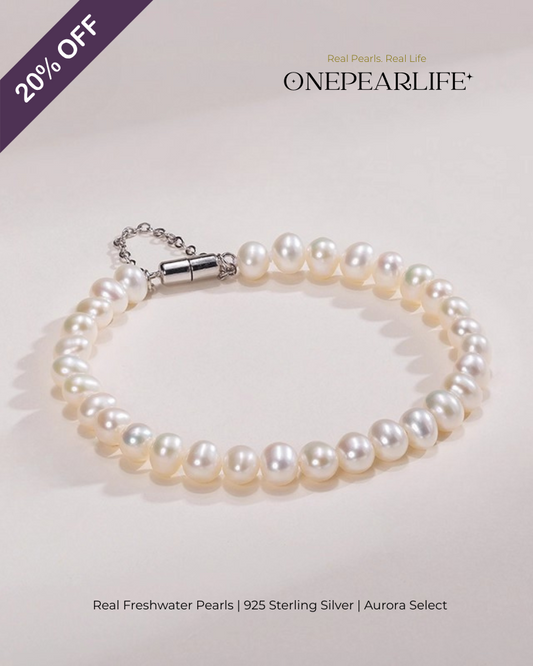
Luma – AAA Quality White Freshwater Pearl Bracelet | 5–5.5mm | 925 Sterling Silver
Regular price $79.00 USDRegular price$99.00 USDSale price $79.00 USDSale -
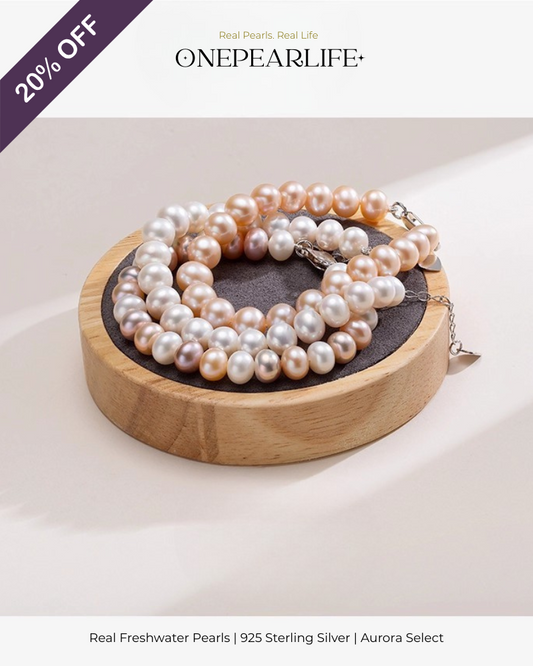
Celara – AAA Quality Multi-Color Freshwater Pearl Bracelet | 7–7.5 mm | 925 Sterling Silver
Regular price $95.00 USDRegular price$119.00 USDSale price $95.00 USDSale -
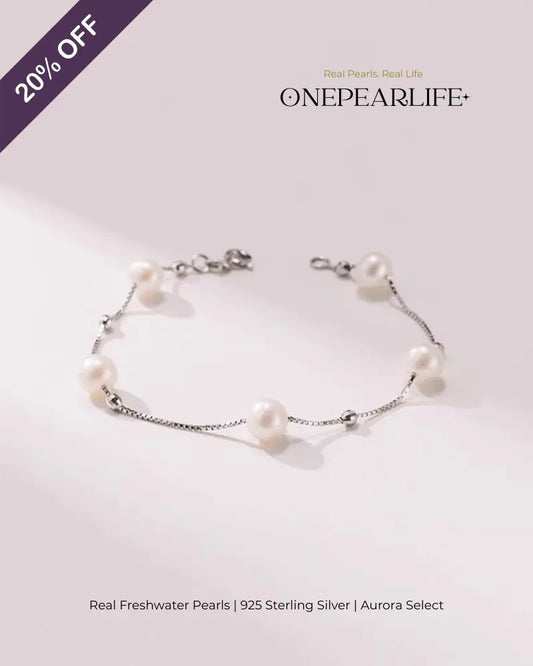
Lyrella – AAA Quality White Freshwater Pearl Starry Bracelet | 7–7.5 mm | 925 Sterling Silver
Regular price $79.00 USDRegular price$99.00 USDSale price $79.00 USDSale -
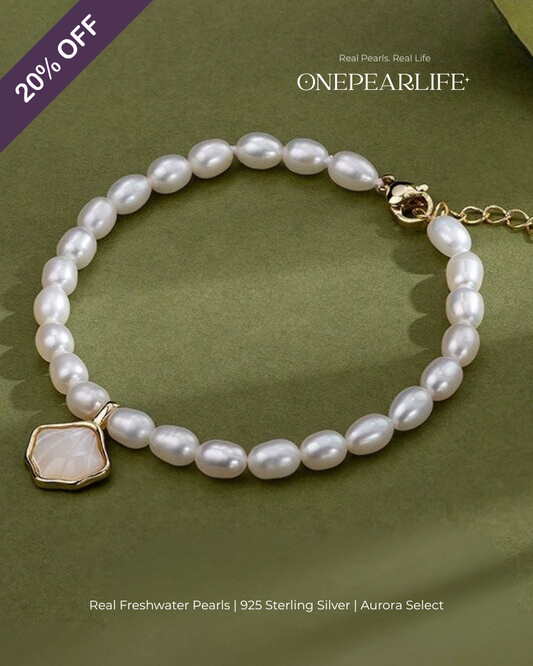
Marina – AAA Quality Rice-Shaped Aurora Natural Freshwater Pearl Bracelet | 4–4.5 mm | 18K Gold Vermeil
Regular price $79.00 USDRegular price$99.00 USDSale price $79.00 USDSale -
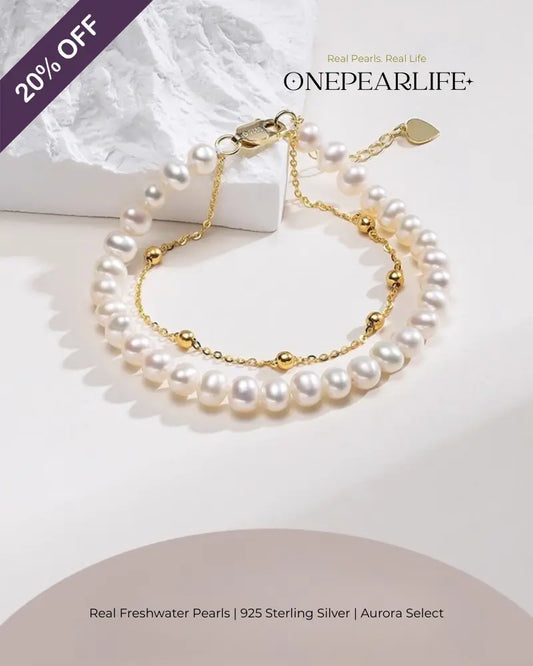
Doria – AAA Quality Double-Layer White Freshwater Pearl Bracelet | 5–5.5 mm | 18K Gold Vermeil
Regular price $95.00 USDRegular price$119.00 USDSale price $95.00 USDSale -
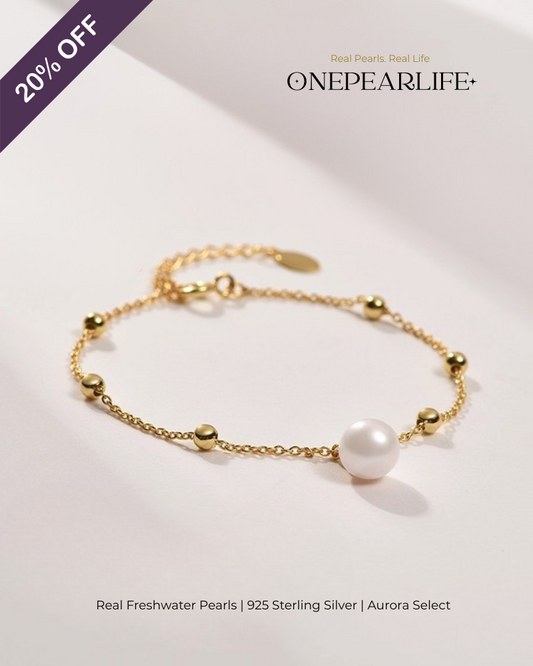
Elora – AAA Quality Single White Freshwater Pearl Bracelet | 7–7.5 mm | 18K Gold Vermeil
Regular price $63.00 USDRegular price$79.00 USDSale price $63.00 USDSale -
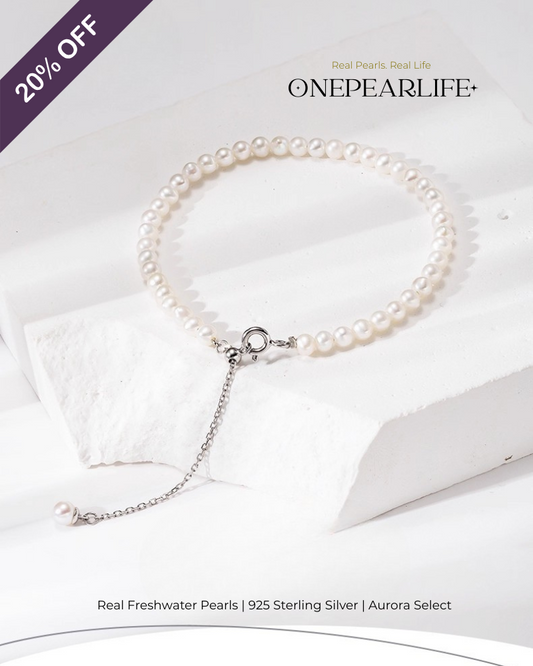
Lini – AAA Quality Mini White Freshwater Pearl Bracelet | 3–3.5 mm | 925 Sterling Silver
Regular price $71.00 USDRegular price$89.00 USDSale price $71.00 USDSale -
Astrina – AAA Quality White Freshwater Pearl Starry Bracelet | 6–6.5 mm | 18K Gold Vermeil
Regular price $103.00 USDRegular price$129.00 USDSale price $103.00 USDSale